
How to Make Cold Foam at Home with a Cream Charger
Introduction: Make Coffee-Shop Cold Foam in Your Own Kitchen
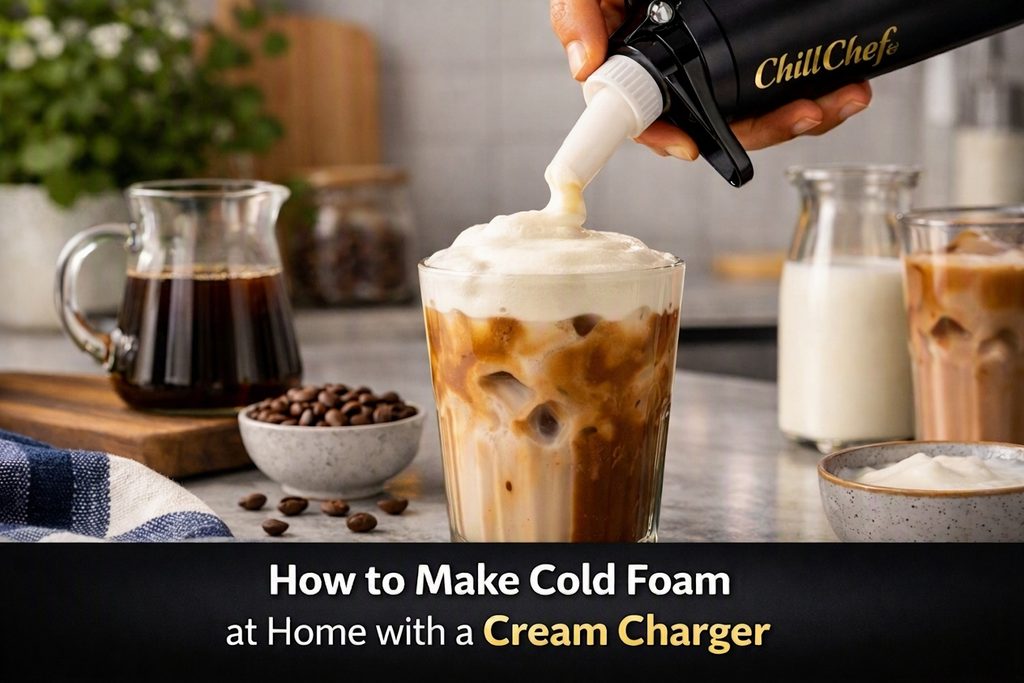
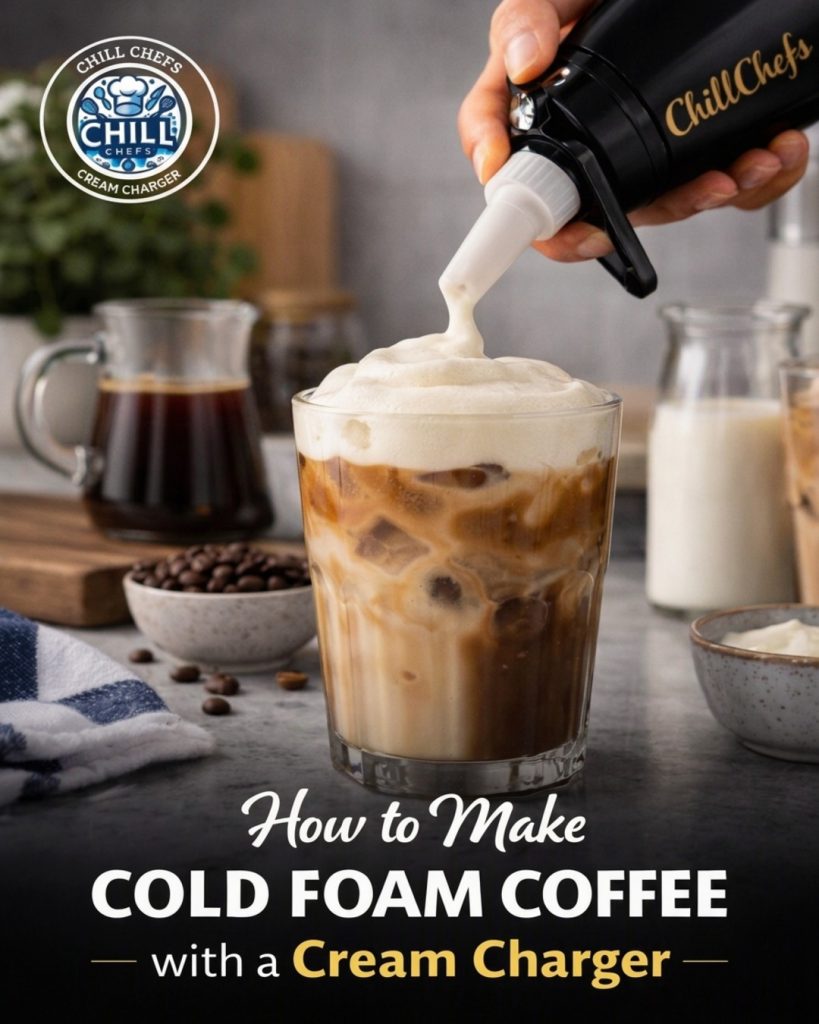
Ever wondered how coffee shops create that smooth, creamy layer of cold foam that floats perfectly on iced coffee? The secret is getting the right balance of milk, air, and texture. Learning how to make cold foam at home with a cream charger can help you create café-style drinks without investing in expensive equipment or making a daily trip to your favorite coffee shop.
Cold foam adds a velvety finish to cold brew, iced lattes, iced americanos, and even dessert-inspired beverages. When prepared correctly, it creates a light, spoonable topping that complements your drink without immediately disappearing into it.
The good news? You can experiment with different milk bases, sweeteners, and flavors using a few simple ingredients and a compatible whipped cream dispenser.
In this guide, you’ll learn how to prepare cold foam step by step, choose the right ingredients, experiment with delicious variations, and avoid common mistakes. We’ll also explain how to use ChillChefs cream chargers responsibly when making café-quality drinks at home.
Check-out our Shopify Store for more Amazing Discounts – ShopChillchefs
What Is Cold Foam?
Cold foam is a chilled, aerated milk or cream topping served over cold beverages. Unlike traditional steamed milk foam, it is prepared without heat, allowing the drink to retain its refreshing temperature.
Its texture can range from light and silky to thick and creamy, depending on the ingredients and preparation method.
Cold foam is commonly used in:
- Cold brew coffee: Adds a smooth, creamy contrast to bold coffee.
- Iced lattes: Creates an attractive layered appearance.
- Iced americanos: Softens the drink’s intense coffee flavor.
- Flavored iced coffees: Adds sweetness and a dessert-like finish.
- Creative mocktails: Provides a creamy topping for suitable cold beverages.
The most important thing to remember is that cold foam isn’t simply whipped cream placed on coffee. Traditional cold foam is often milk-based, while a cream-based version is richer and more indulgent.
A cream charger can help aerate a suitable liquid in a compatible dispenser, but the final texture depends on the recipe, fat content, equipment, and preparation technique.
Ingredients and Equipment You’ll Need
Before getting started, gather your ingredients and equipment.
Ingredients
For a basic cold foam recipe, you’ll need:
- ½ cup (120 ml) cold milk
- 1–2 tablespoons heavy cream, optional
- 1–2 teaspoons simple syrup or your preferred sweetener
- ¼ teaspoon vanilla extract, optional
- One prepared glass of iced coffee or cold brew
For a richer topping, increase the cream slightly. For a lighter texture, use a greater proportion of milk.
Ingredient tip: Whole milk generally produces a creamier result than skim milk. Some plant-based milks can also work, especially barista-style varieties formulated for foaming, although results vary.
Equipment
You’ll need:
- A compatible whipped cream dispenser
- A manufacturer-approved cream charger compatible with that dispenser
- Measuring cups or a kitchen scale
- A spoon and a chilled serving glass
- Your preferred cold coffee or beverage
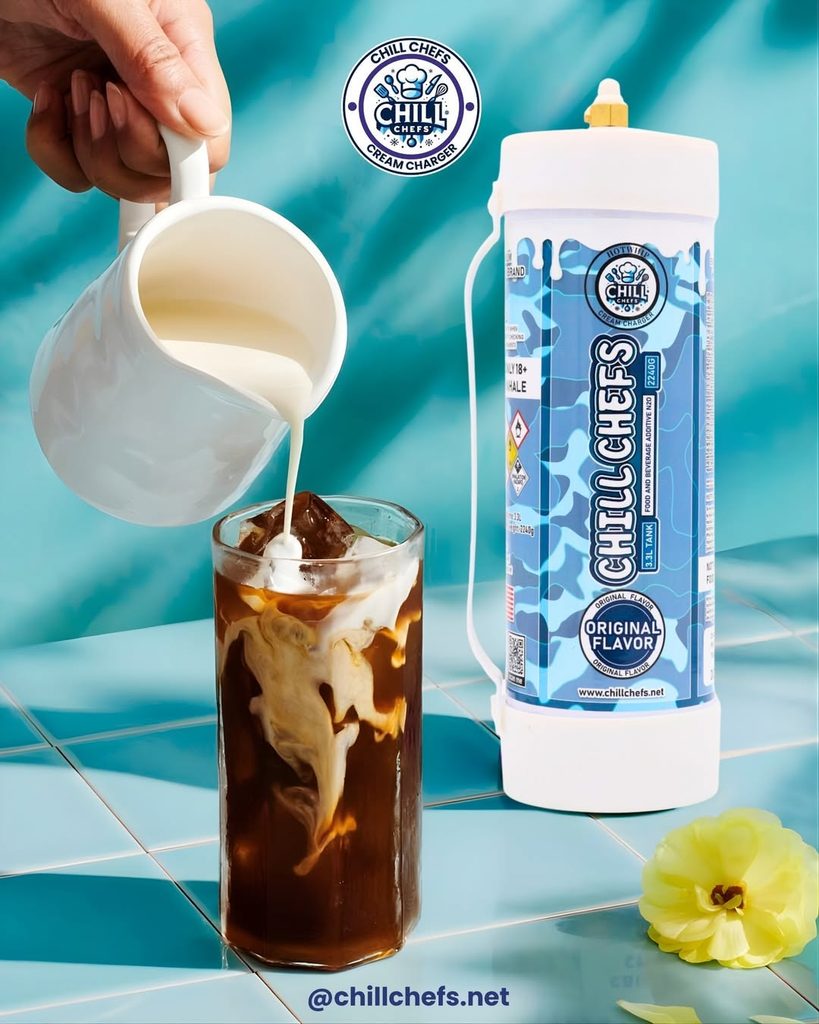
ChillChefs cream chargers may be an option for suitable culinary applications, provided the specific charger and dispenser are compatible. Always check the product specifications before use.
How to Make Cold Foam at Home with a Cream Charger: Step-by-Step Guide
Follow these steps to prepare a smooth, creamy topping for your favorite cold drinks.
Step 1: Chill Your Ingredients
Start with cold milk and, if you’re using it, cold heavy cream.
Cold ingredients help maintain the refreshing character of your drink and can improve consistency. For an extra café-style touch, chill your dispenser according to its manufacturer’s instructions if the equipment is designed for that use.
Pro tip: Prepare your coffee in advance and let it cool completely before adding ice. This prevents unnecessary dilution.
Step 2: Mix Your Cold Foam Base
Pour the milk into a clean measuring jug. Add the optional heavy cream, sweetener, and vanilla extract.
Stir gently until the sweetener is dissolved and the ingredients are evenly combined.
Start with this ratio:
| Ingredient | Quantity |
|---|---|
| Cold milk | 120 ml |
| Heavy cream | 15–30 ml |
| Simple syrup | 5–10 ml |
| Vanilla extract | A few drops |
This is a starting formula rather than a guaranteed result. Adjust the proportions according to your preferred flavor and the instructions for your dispenser.
Step 3: Transfer the Mixture to Your Dispenser
Pour the prepared mixture into a clean, compatible whipped cream dispenser.
Do not exceed the fill line. Different dispensers have different capacities and minimum-fill requirements, so follow the instructions supplied with your particular model.
Make sure the head, seal, and other components are correctly assembled before proceeding.
Step 4: Charge the Dispenser Correctly
Use only a charger specified by the dispenser manufacturer for your equipment.
Follow the manufacturer’s charging instructions exactly. Never improvise with incompatible cartridges, force components into place, or open a pressurized dispenser.
Keep your hands and face away from the outlet while charging, and never attempt to disassemble equipment while it is pressurized.
For a milk-based cold foam, be aware that a whipped cream dispenser may produce a texture different from the light, spoonable foam made by a dedicated milk frother. Your results will depend on the liquid and the equipment.
Step 5: Mix and Dispense as Directed
Follow the dispenser manufacturer’s directions for mixing, handling, and dispensing. Avoid excessive shaking or agitation, which can affect the texture of some mixtures.
Dispense a small test portion into a separate cup before topping your coffee.
Look for a smooth, even consistency. If the mixture comes out too thick, too thin, or unevenly, stop and consult the equipment instructions rather than forcing the dispenser to work.
Step 6: Pour Your Iced Coffee
Fill a serving glass with ice and add your cold brew or iced coffee.
Hold the dispenser as directed by its manufacturer and gently apply the foam to the top of your beverage.
For an attractive finish, allow the foam to settle naturally into a distinct layer.
Step 7: Garnish and Serve
Finish with a light dusting of cinnamon, cocoa powder, or a small amount of finely grated chocolate.
Serve immediately for the freshest texture and best presentation.
Congratulations! You’ve created a café-inspired cold coffee topping without leaving your kitchen.
Check-out our Shopify Store for more Amazing Discounts – ShopChillchefs
5 Delicious Cold Foam Recipes to Try at Home
Once you’ve mastered the basic technique, try these flavor combinations.
1. Vanilla Sweet Cream Cold Foam
Flavor profile: Smooth, sweet, and classic.
Ingredients:
- ½ cup cold milk
- 1 tablespoon heavy cream
- 1 teaspoon vanilla syrup
Combine the ingredients and prepare them using a method appropriate for your equipment. Add the finished foam to cold brew or iced coffee.
For a coffee-shop-inspired presentation, drizzle a little vanilla syrup inside the glass before adding your coffee.
2. Chocolate Cold Foam
Flavor profile: Rich, chocolatey, and dessert-inspired.
Ingredients:
- ½ cup cold milk
- 1 tablespoon heavy cream
- 1 teaspoon cocoa powder
- 1–2 teaspoons chocolate syrup
Mix the cocoa powder with the syrup first to reduce lumps. Combine with the milk and cream, then prepare using your chosen foaming method.
Serve over iced coffee and finish with a light sprinkle of cocoa powder.
Pro tip: Fine cocoa powder generally blends more smoothly than larger chocolate pieces.
3. Caramel Cold Foam
Flavor profile: Buttery, sweet, and indulgent.
Ingredients:
- ½ cup cold milk
- 1 tablespoon heavy cream
- 1–2 teaspoons caramel syrup
- A small pinch of salt, optional
Combine the ingredients until evenly mixed. Prepare the foam according to your equipment’s instructions and serve over iced coffee.
Finish with a thin caramel drizzle for a polished café-style appearance.
4. Cinnamon Vanilla Cold Foam
Flavor profile: Warm spice with a creamy vanilla finish.
Ingredients:
- ½ cup cold milk
- 1 tablespoon heavy cream
- 1 teaspoon vanilla syrup
- A small pinch of ground cinnamon
Combine the ingredients and prepare the foam. Sprinkle a little extra cinnamon over the finished drink.
This recipe pairs especially well with cold brew and medium-roast coffee.
5. Maple Cream Cold Foam
Flavor profile: Subtly sweet with a distinctive maple finish.
Ingredients:
- ½ cup cold milk
- 1 tablespoon heavy cream
- 1–2 teaspoons maple syrup
- A tiny pinch of cinnamon, optional
Mix the ingredients thoroughly before preparing the foam. Adjust the sweetness to suit your taste.
This variation works well with cold brew, particularly when you want a more complex flavor than ordinary vanilla syrup provides.
Important: Thick syrups, cocoa, spices, and other solids may affect dispensing. Strain mixtures when appropriate and only use ingredients and consistencies permitted by your dispenser’s instructions.
Cream Charger vs. Milk Frother: Which Is Better for Cold Foam?
Both tools can help you create café-style drinks, but they work differently.
| Feature | Cream Charger and Compatible Dispenser | Electric Milk Frother |
|---|---|---|
| Primary advantage | Can aerate suitable culinary mixtures quickly | Designed specifically for frothing milk |
| Best applications | Appropriate dispenser-compatible culinary foams | Traditional milk-based cold foam |
| Texture | Depends on the recipe and equipment | Depends on milk type and frother settings |
| Learning curve | Requires careful attention to equipment instructions | Usually straightforward |
| Cleaning | Requires cleaning all specified dispenser components | Depends on the frother design |
Which should you choose?
If you mainly want traditional cold foam for daily iced coffee, a milk frother is often the simplest starting point.
If you already own a compatible whipped cream dispenser and want to explore a wider range of culinary foam preparations, a cream charger may offer additional versatility.
Neither tool guarantees a particular texture. The right choice depends on your recipes, equipment, and intended results.
How to Choose the Right Cream Charger
Not all culinary equipment and chargers are interchangeable. Before buying, consider these important factors.
1. Compatibility
Check the charger’s specifications and ensure it is explicitly compatible with your dispenser. Never assume that products with similar appearances or dimensions will work together.
2. Product Quality
Look for clear labeling, appropriate food-use specifications, intact packaging, and reliable product information.
3. Ease of Use
Choose equipment with understandable instructions and straightforward cleaning requirements.
4. Intended Application
A charger suitable for a particular whipped cream dispenser may not deliver the desired result for every milk-based foam recipe.
If you’re looking for the Best cream charger for food and beverages, focus on verified compatibility, product specifications, and the culinary applications supported by the manufacturer.
Professional kitchens should also consider consistent results, equipment maintenance, staff training, and dependable supply.
Why Consider ChillChefs Cream Chargers?
Choosing culinary supplies from a clearly identified brand can make product research easier, particularly when you need to compare compatibility, packaging, and intended use.
When exploring ChillChefs cream chargers USA or ChillChefs cream chargers Canada, review the available product details carefully and confirm that the specific charger suits your equipment and application.
Here are a few considerations for different customers.
For Home Coffee Lovers
If you enjoy experimenting with iced lattes and cold brew, begin with a simple recipe and equipment you can clean easily.
Compare the cost of a milk frother with that of a compatible dispenser and charger before purchasing anything new.
For Coffee Shops and Restaurants
Cafés and restaurants should prioritize repeatable recipes, staff training, cleaning procedures, and consistent presentation.
Professional whip cream chargers for chefs may be relevant to kitchens preparing compatible whipped cream and culinary foams, but each application should follow the manufacturer’s specifications.
For Students and Budget-Conscious Buyers
If you’re searching for Affordable whip cream chargers for students, consider the total cost of ownership rather than the initial price alone.
Include the dispenser, compatible chargers, ingredients, cleaning supplies, and ongoing replacement costs in your budget. A basic electric frother may be more economical if you only prepare cold foam occasionally.
For Buyers in the United States and Canada
People searching for the Best whip cream charger USA or Best whip cream charger Canada should compare product compatibility, food-use specifications, availability, and shipping costs.
If you plan to Buy whipped cream chargers online USA, check the seller’s product descriptions and handling instructions before placing an order.
For businesses researching Wholesale cream chargers Canada, compare case quantities, unit pricing, shipping terms, and supplier documentation. Verify current availability and wholesale conditions directly with the seller rather than relying on assumptions.
Common Cold Foam Mistakes and How to Fix Them
Even a simple recipe can require a little experimentation. Here’s how to address the most common problems.
Why Is My Cold Foam Too Thin?
Possible reasons include using a low-protein milk, adding too much liquid sweetener, or using a preparation method that doesn’t suit the ingredients.
Solution: Try a barista-style milk, adjust the milk-to-cream ratio, or use a dedicated milk frother for traditional cold foam.
Why Is My Foam Too Thick?
Too much cream or an unsuitable dispensing technique can produce a texture closer to whipped cream than cold foam.
Solution: Adjust the recipe gradually and test a small batch. Make sure the mixture is suitable for your equipment before preparing a larger quantity.
Why Does My Foam Disappear Quickly?
Some milk types produce less stable foam, while excessive sweetener or an unsuitable preparation technique may also affect the result.
Solution: Experiment with different milk varieties, serve immediately, and keep the drink cold.
Why Is My Dispenser Not Working Properly?
An incompatible charger, incorrect assembly, an obstructed outlet, or a mixture unsuitable for the equipment may cause problems.
Solution: Stop using the dispenser and follow the manufacturer’s troubleshooting instructions. Never force the mechanism, open pressurized equipment, or attempt to clear a blockage while it is pressurized.
Cleaning and Food Safety Tips
Great drinks start with clean equipment.
Follow these essential practices:
- Wash and sanitize food-contact components according to the manufacturer’s instructions.
- Use fresh ingredients and observe their storage requirements.
- Refrigerate milk-based mixtures promptly when required.
- Follow the equipment’s instructions for storage, cleaning, and dispensing.
- Never exceed the dispenser’s rated capacity or pressure limits.
- Keep chargers away from heat and handle them according to their labeling.
- Never inhale or misuse the contents of a culinary charger.
- Discard mixtures that have been stored improperly or show signs of spoilage.
For commercial kitchens, document cleaning routines and train staff to handle pressurized culinary equipment correctly.
Expert Tips for Better Cold Foam at Home
Want to improve your results? These practical suggestions can help.
Start simple. Use a basic milk-and-vanilla recipe before experimenting with syrups, spices, and chocolate.
Measure your ingredients. Consistent quantities make it easier to repeat a successful recipe.
Experiment with milk types. Whole milk, skim milk, and plant-based alternatives can produce noticeably different textures.
Keep your coffee cold. Hot coffee can quickly melt the foam and change the drink’s appearance.
Use attractive glassware. A clear glass makes the contrast between the coffee and foam more visible.
Record successful recipes. Write down the ingredients, quantities, milk brand, and preparation method so you can reproduce your favorite result.
Experience placeholder for ChillChefs: Add original photographs of your recipe tests, explain which milk varieties performed best in your own trials, and include measured preparation times or texture comparisons. Publish only results you have personally verified.
Frequently Asked Questions
Can I make cold foam without a cream charger?
Yes. A handheld milk frother, electric milk frother, or French press can create cold milk foam. These methods are often easier for beginners and may be more suitable for traditional café-style cold foam.
Can I use a cream charger with any type of milk?
No. Results depend on the milk’s composition, the recipe, and the dispenser. Check your equipment’s instructions before using alternative milk products or mixtures containing thick syrups and solids.
Is cold foam the same as whipped cream?
No. Cold foam is generally lighter and milk-based, while whipped cream typically contains more fat and is whipped to a richer consistency. The two can serve different purposes in beverages.
Can I prepare cold foam in advance?
For the best texture, prepare it shortly before serving. If your recipe is suitable for advance preparation, refrigerate it according to ingredient and equipment instructions and use it within the recommended storage period.
Are ChillChefs cream chargers suitable for commercial kitchens?
Suitability depends on the particular product, compatible equipment, and intended culinary application. Restaurants and cafés should review the product specifications and follow the manufacturer’s instructions.
Where can I find cream chargers in the USA or Canada?
Research suppliers that provide clear product specifications, compatibility information, and transparent shipping terms. Buyers can explore ChillChefs product listings and verify current availability and delivery options directly with the brand.
Conclusion: Bring Café-Style Cold Foam to Your Kitchen
Learning how to make cold foam at home with a cream charger opens the door to creative iced coffees, indulgent dessert drinks, and personalized café-style beverages.
The secret is to start with a reliable recipe, use chilled ingredients, choose equipment suited to your preferred texture, and follow all manufacturer instructions. From vanilla sweet cream to chocolate, caramel, cinnamon, and maple, a few simple ingredients can transform an ordinary iced coffee into something special.
Remember that a dedicated milk frother is often the easiest option for traditional cold foam, while a compatible whipped cream dispenser can be useful for other culinary foam applications.
Ready to experiment with your next coffee creation? Choose your favorite recipe, prepare a small batch, and record what works best. If you’re considering ChillChefs cream chargers, explore the available product information, confirm compatibility with your equipment, and select the option that suits your culinary needs.
Your next café-style creation might be just a few ingredients away.


One Response